What is it about the word membrane that makes me think of some SciFi movie or fiction? I don’t know, but I do know that it’s a lot less cool than it sounds.
We are racing the freezing temperatures and applying a waterproof membrane to our foundation to help safeguard against moisture. Once complete, Keith will work on our drainage system.
Why a waterproof membrane? Between moisture and questionable soil drainage (did you SEE our moat?) we want to protect our below-ground ICF walls (aka foundation) from moisture intrusion.
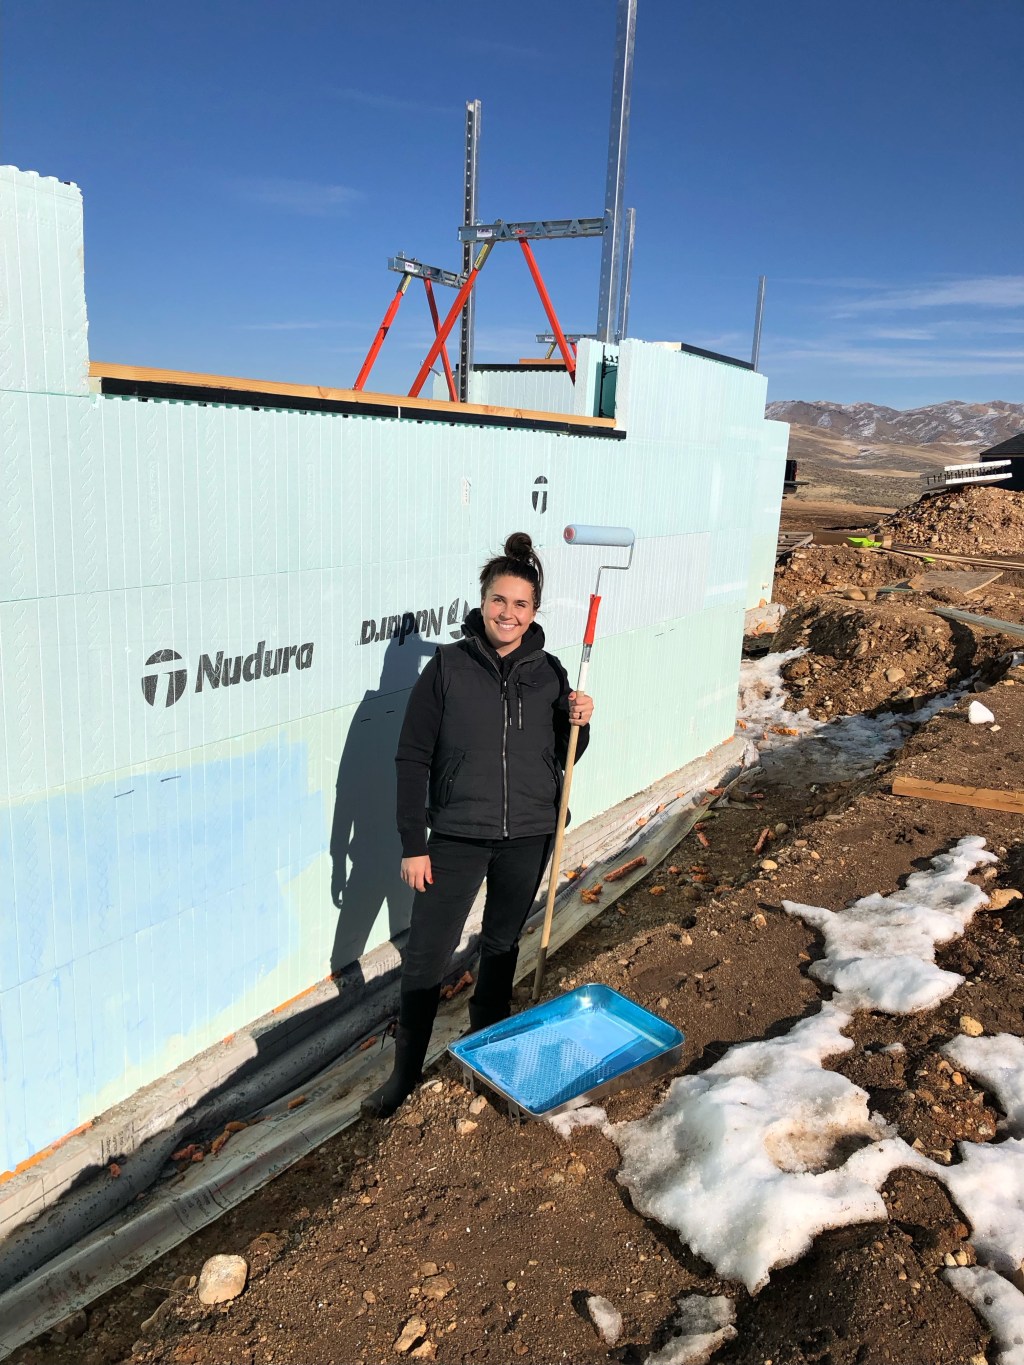
The primer can only be applied in above 40 degree Fahrenheit temperatures. I had the easy job, which was rolling on the thin primer. It was much easier than priming the subfloors; the foam doesn’t soak up the primer nearly as quickly as plywood.

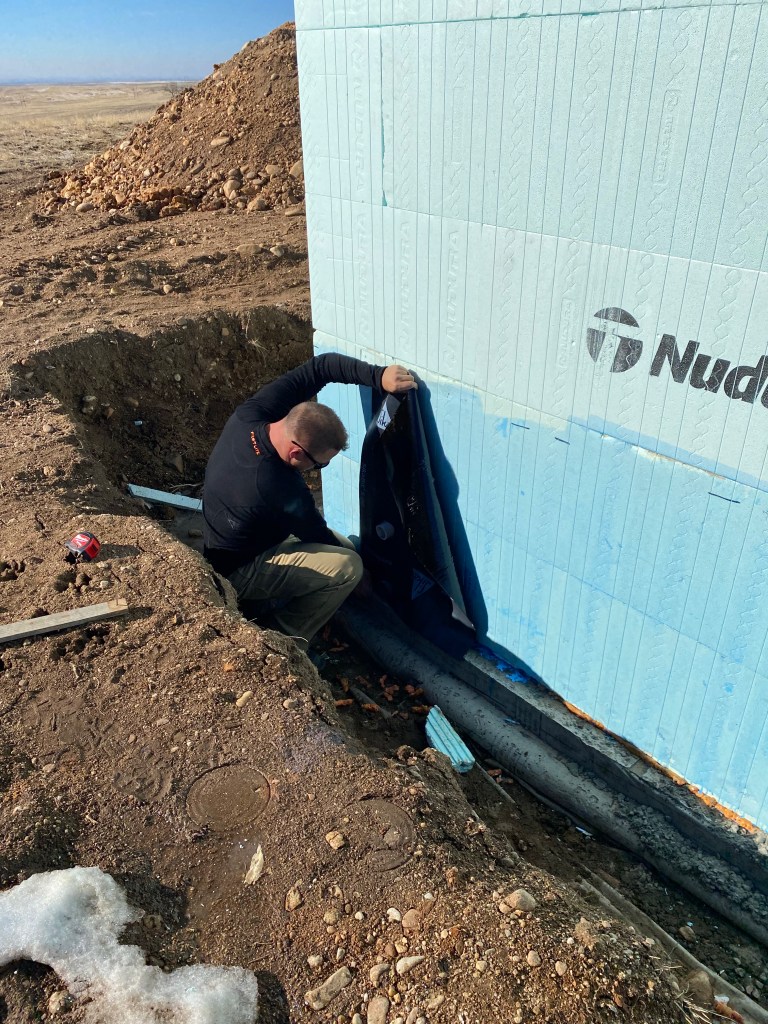
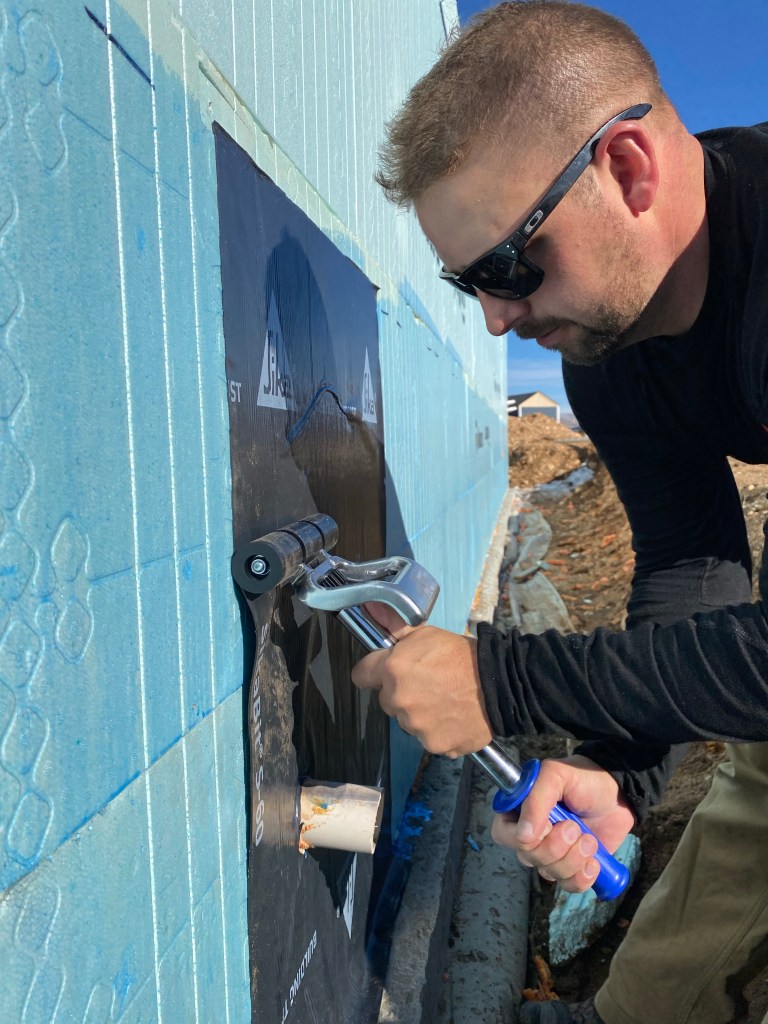
Once the primer is cured, it’s ready for us to place a large, adhesive backed (aka a big ol’ sticker) piece of membrane on it. The membrane is then rolled out flat, much like a decal, to minimize air pockets and ridges.
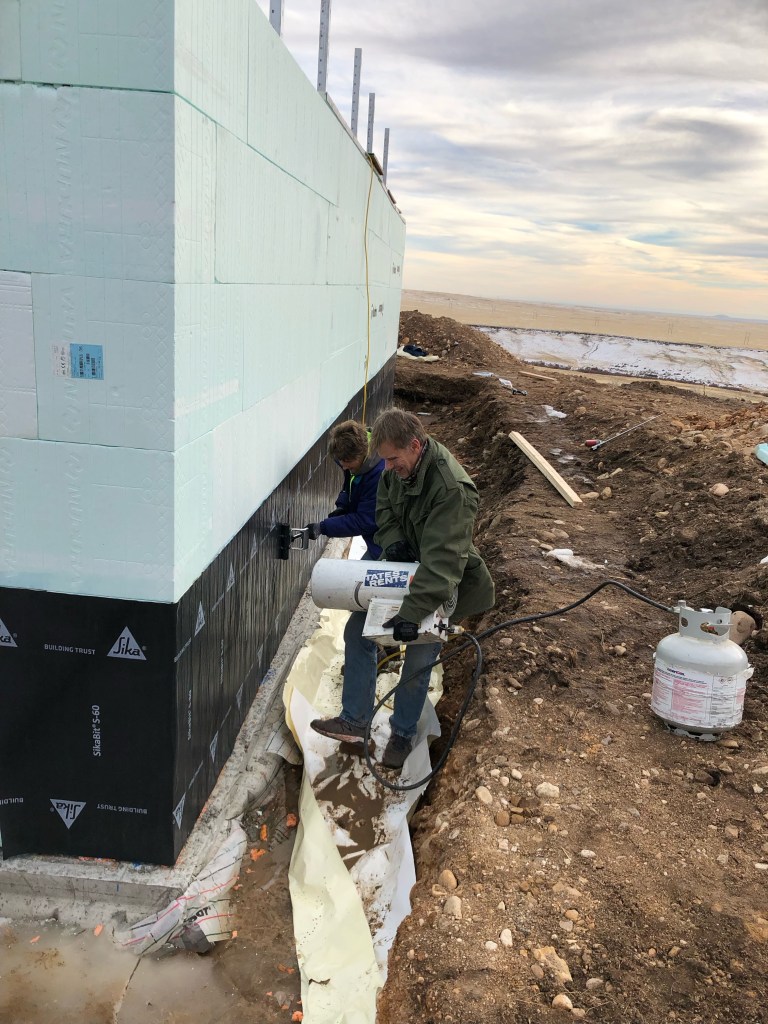
The top and bottom seam are then caulked, and a piece of wood is drilled into the top seam to ensure it lays flat and water can’t get into it.
Yeah, it’s tedious.
Also, if you’ve never applied a massive sticker to your house…you’re missing out. It’s exactly as stressful as it sounds.
We went with SikaBit primer and membrane, after a bit of research. It’s spendy, but high quality. This project cost us about $1500, which isn’t fun…but dealing with a deteriorating foundation or water filled crawlspace is even less fun (and more expensive) down the road.

Our takeaways? First, if you can do this when the weather isn’t close to 40…do it then. The primer legitimately does not become tacky below 40. Our northern side does not see sun, which was an issue. We ended up renting a heater and using it to warm up the primer. It works in a pinch and boonie living is all about being a MacGuyver, but a warmer temperature would have definitely made the project less stressful.
Second, prep work takes way longer than you anticipate — but it does make the job go quicker. Prep work included how high the membrane goes (essentially a prime line), cutting the membrane into workable strips, cutting out holes for pipes, etc.
All in all, we are done; we managed to finish the project in three days, and narrowly missed the below freezing temperatures in the upcoming forecast. We definitely wouldn’t have been able to complete it without my parents’ help; we’ve definitely learned to accept and ask for help on this building endeavor!


Leave a comment